Do you want to enhance the look of plain drywall surfaces?
While smooth drywall can look sleek, it can also feel boring and show every imperfection. By adding texture, you can transform the look and feel of a room without much cost.
To make your home more exciting and show off your design personality, consider one of these seven types of drywall textures. Many of these techniques also work to hide surface flaws, so your space looks fresh and neat! Knowing the lingo for different drywall textures is also helpful when hiring a professional.
Here are the top drywall textures that add dimension and interest to any room of your home.
#1: Skip Trowel Texture
The skip trowel texture looks very much like an old stucco wall. It’s ideal for rooms where you want to have an old-world feel.
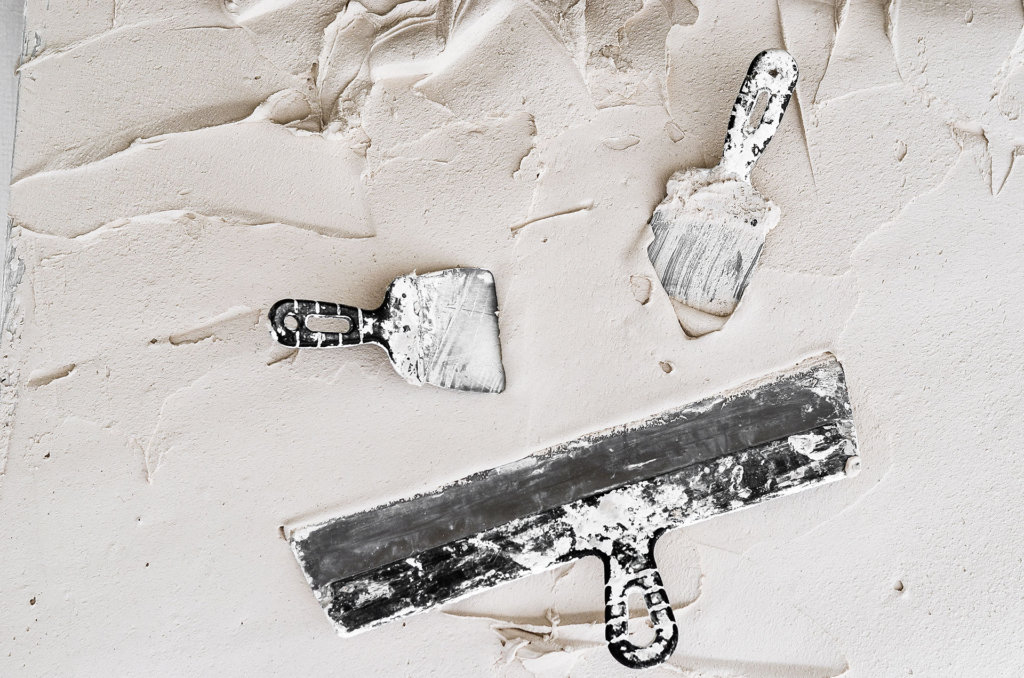
To create this finish, you need to take a wide curved drywall knife and skim a thin coat of mud onto the drywall surface. Apply in broad, loose strokes starting at the top left or right and angling down to the opposite side.
Let the trowel “skip” across the surface, which leaves mud randomly on some spots while missing others.
Trowel over any prominent grooves, lumps, or dense areas to soften the surface. One well-done layer will add texture, but two layers look more authentic.
This finish will telescope any bumps on the surface instead of disguising them. However, it works fantastically to hide cracks or indentations.
#2: Comb Texture
A comb texture can bring out the art-deco design enthusiast in anyone. This texturizing technique offers a vast array of options in terms of pattern, swirl size, flat lines, waves, and depth of texture.
To achieve this look, you must first find a combing tool or still brush to deliver the look you desire. Apply a liberal layer of mud onto the wall with a trowel and mist with water. Use the combing tool to create your pattern.
Practice and experience are essential to perfect this texture and achieve an even pattern across an entire wall.
The extra mud thickness and deep grooves help hide most flaws.
#3: Rosebud Texture
The rosebud texture works well to create more visual interest without it becoming overwhelming.
To create this look, thin drywall mud with water to avoid harsh edges that make the finish look dated. Use a 3/4-inch-nap roller to apply the mud to a section of the drywall.
Using a loose-bristle round brush, you push the brush into the mud and pull it straight out from the wall. The bristles will cling in a circular fashion, then pull back, leaving a “rosebud” pattern behind.
It may take practice to get the consistency of the mud and the push and pull of the brush down pat for good results.
This texture works well to hide both high and low wall imperfections.
#4: Orange Peel Texture
For a more modern take on a stucco-feel wall, the orange peel texture is a popular choice for the deeper grooves in the dimpled finish that showcases paint colors.
Application entails using a sprayer to spread mud thinned to a batter-like consistency onto the wall. Then, using a one-inch nap roller, you need to lightly roll the wall to flatten out any high spots in the mud. Two coats achieve the best final look.
For minor flaws, this technique hides imperfections with ease. More substantial flaws may still show, especially those that push out from the surface.
#5: Crows Feet Texture
For those not afraid of texture, the crow’s feet pattern can update a room with its unusual design.
To create this look, you need to apply slightly thinned mud to the drywall using a trowel. Take a special “crowfoot” brush (sold at paint stores) and push it into the surface at an upward angle then pull off.
For a random pattern, turn the brush slightly to change the direction of the pattern after each imprint. For a deliberate design, leave a bit of space between each imprint.
The deep pattern is great for hiding flaws, but also catches dust, so keep that in mind.
#6: Swirl Texture
The swirl texture is a fun pattern that entails line after line of arches that can go in any direction you choose. The size of each swirl can be small or much more extensive, becoming nearly a circle.
To create this texture, you need a six to eight-inch wide thin brush with stiff bristles. Roll or trowel on a thin layer of mud to the drywall in sections.
Hold the brush horizontally to the wall, push in, then twist the wrist to rotate the brush while keeping the inner bristles in the same location, forming an arch.
This finish is perfect for hiding old painting flaws like drips or small nail holes but does little to hide cracks or large lumps or divets.
#7: Leather Texture
For a very different but extremely cool drywall finish, the leather texture is the one to choose. This pattern is best for walls, as different lighting highlights the beauty.
To create this look, you will need to rip kraft paper into large sheets, crinkle it up tightly, then loosely flatten it back out. Trowel a 1/8-inch thick layer of mud onto the drywall, then take the crinkled kraft paper and push it into the surface.
Before pulling the paper from the mud, gently rub the back of the paper with your hand. This will force the rougher edges deeper into the mud to enhance the texture. Remove and repeat, using a fresh sheet of paper each time.
This technique is very practical because it can hide nearly any type of flaw.


