Did you just finish an outdoor home-improvement project using pressure-treated wood and wonder what steps you should take to paint it? Are you looking to refresh an old, never painted pressure-treated fence or deck?
Finishing off pressure-treated lumber can be tricky. If you don’t follow the correct steps before, during, and after painting, you may end up with a peeling, unsightly mess. You’ll also waste plenty of time and money.
All the critical information you need is right here in this step-by-step guide to painting pressure-treated wood. Finish off your project with the perfect color to enhance the look of your home!
Before You Start
Practice Patience!
The number one mistake people make when painting pressure-treated wood is that they don’t let the insect- and rot-resistant chemicals in the lumber dry out before applying paint.
The drying process can take weeks in dry conditions, but most areas also experience regular rainfall, which further delays the drying process. Painting damp wood means internal moisture will eventually work it’s way to the surface, which causes ruinous bubbling and peeling of the paint.
TIP: The lumber is ready for paint when a dab of water soaks into the surface and doesn’t bead up.
Get Your Supplies Ready
These are the supplies necessary to paint pressure-treated wood:
- Dish soap and water
- Stiff brush
- Garden hose for rinsing
- Exterior primer made for pressure-treated wood
- Latex exterior paint
- Paint sprayer or roller
- Paintbrush and thin paint pads
Measure your project so you can purchase enough primer for one coat, and enough to apply two coats of the finish color.
Step 1: Wash and Dry
Make sure the lumber is free of dust and dirt by using a stiff brush and washing it down with soap and water. Rinse well with a hose and let the wood air dry. For older wood, a pressure washer can blast out debris deep in crevices and brighten up the surface.
Step 2: Apply Primer
After drying, apply an exterior wood primer made for pressure-treated lumber, which is specially formulated to bond with any residual chemicals in the wood. A good primer is vital for maximum paint adherence, so don’t skip this crucial step.
Use a brush, roller, or paint sprayer depending on what will work best for the size of the project you’re tackling. Apply one even coat across all the wood, trying to get down into any gaps.
Let the primer cure per manufacturer’s instructions.
TIP: To easily paint between decking or fence boards, bend a thin painting pad in half (fuzzy side out) and tape the bottom together. Hold onto the taped section, dip the upper part in primer or paint and run it between slats of wood. It paints both sides at once and covers much better than a paintbrush!
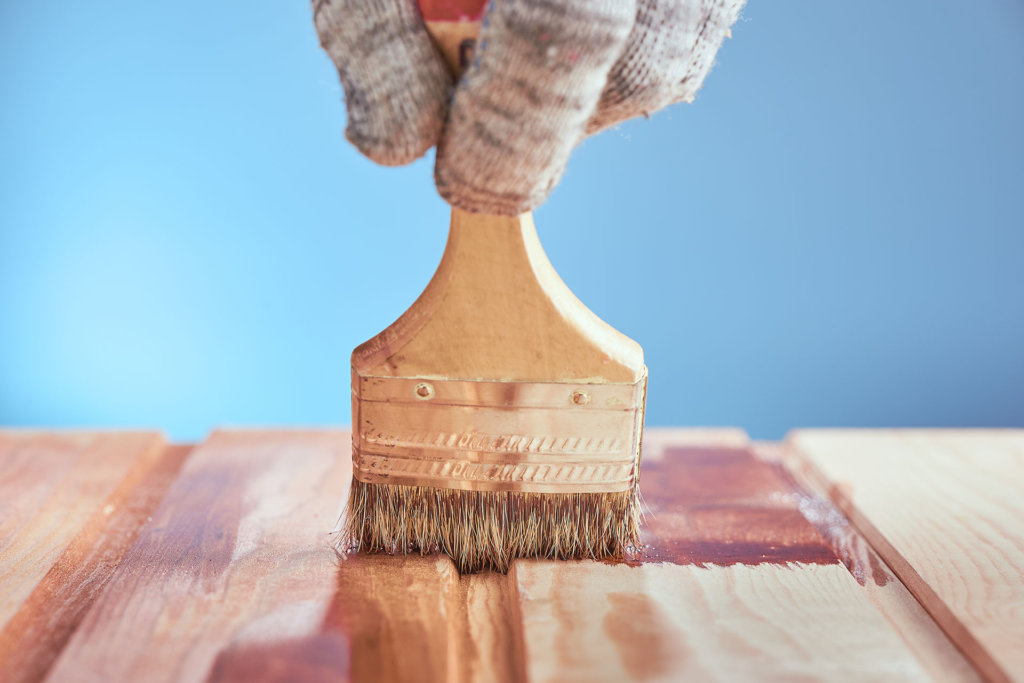
Step 3: Apply First Finish Coat
Using a roller, brush, or paint sprayer, apply one coat of the best quality exterior latex paint you can afford. Never use oil-based paint, as it will fight with the chemicals in the wood.
Don’t glop on the paint trying to achieve full coverage in one try, keep it thin and even. Use the folded paint pad technique to reach into gaps.
Let dry thoroughly for several hours.
Step 4: Apply Final Finish Coat
Apply your final finish coat using the same method as the first. Let dry.
Step 5: Check for Touch-Ups
Once both coats are dry, walk around and inspect areas for missing paint or thin areas. These spots will allow water penetration that will begin the journey to peeling paint.
Fill in problematic areas with one or two more coats of paint, and don’t forget the primer if you find entirely bare wood.
Step 6: Maintain
A professional-grade paint job using primer and two layers of finish coat should last for three to five years. The best way to keep your painted pressure-treated wood looking sharp as long as possible is to stop issues before they get worse.
Keep the surface free of dirt, mold, or mildew with a regular gentle wash with soap, a brush, and water. Avoid pressure-washing as it may lift off the paint.
If you should see peeling or thinning paint, immediately address the issue. Sand down peeling areas and recoat dry wood with primer and paint. Add another layer to thin areas where traffic patterns are wearing out the color.